

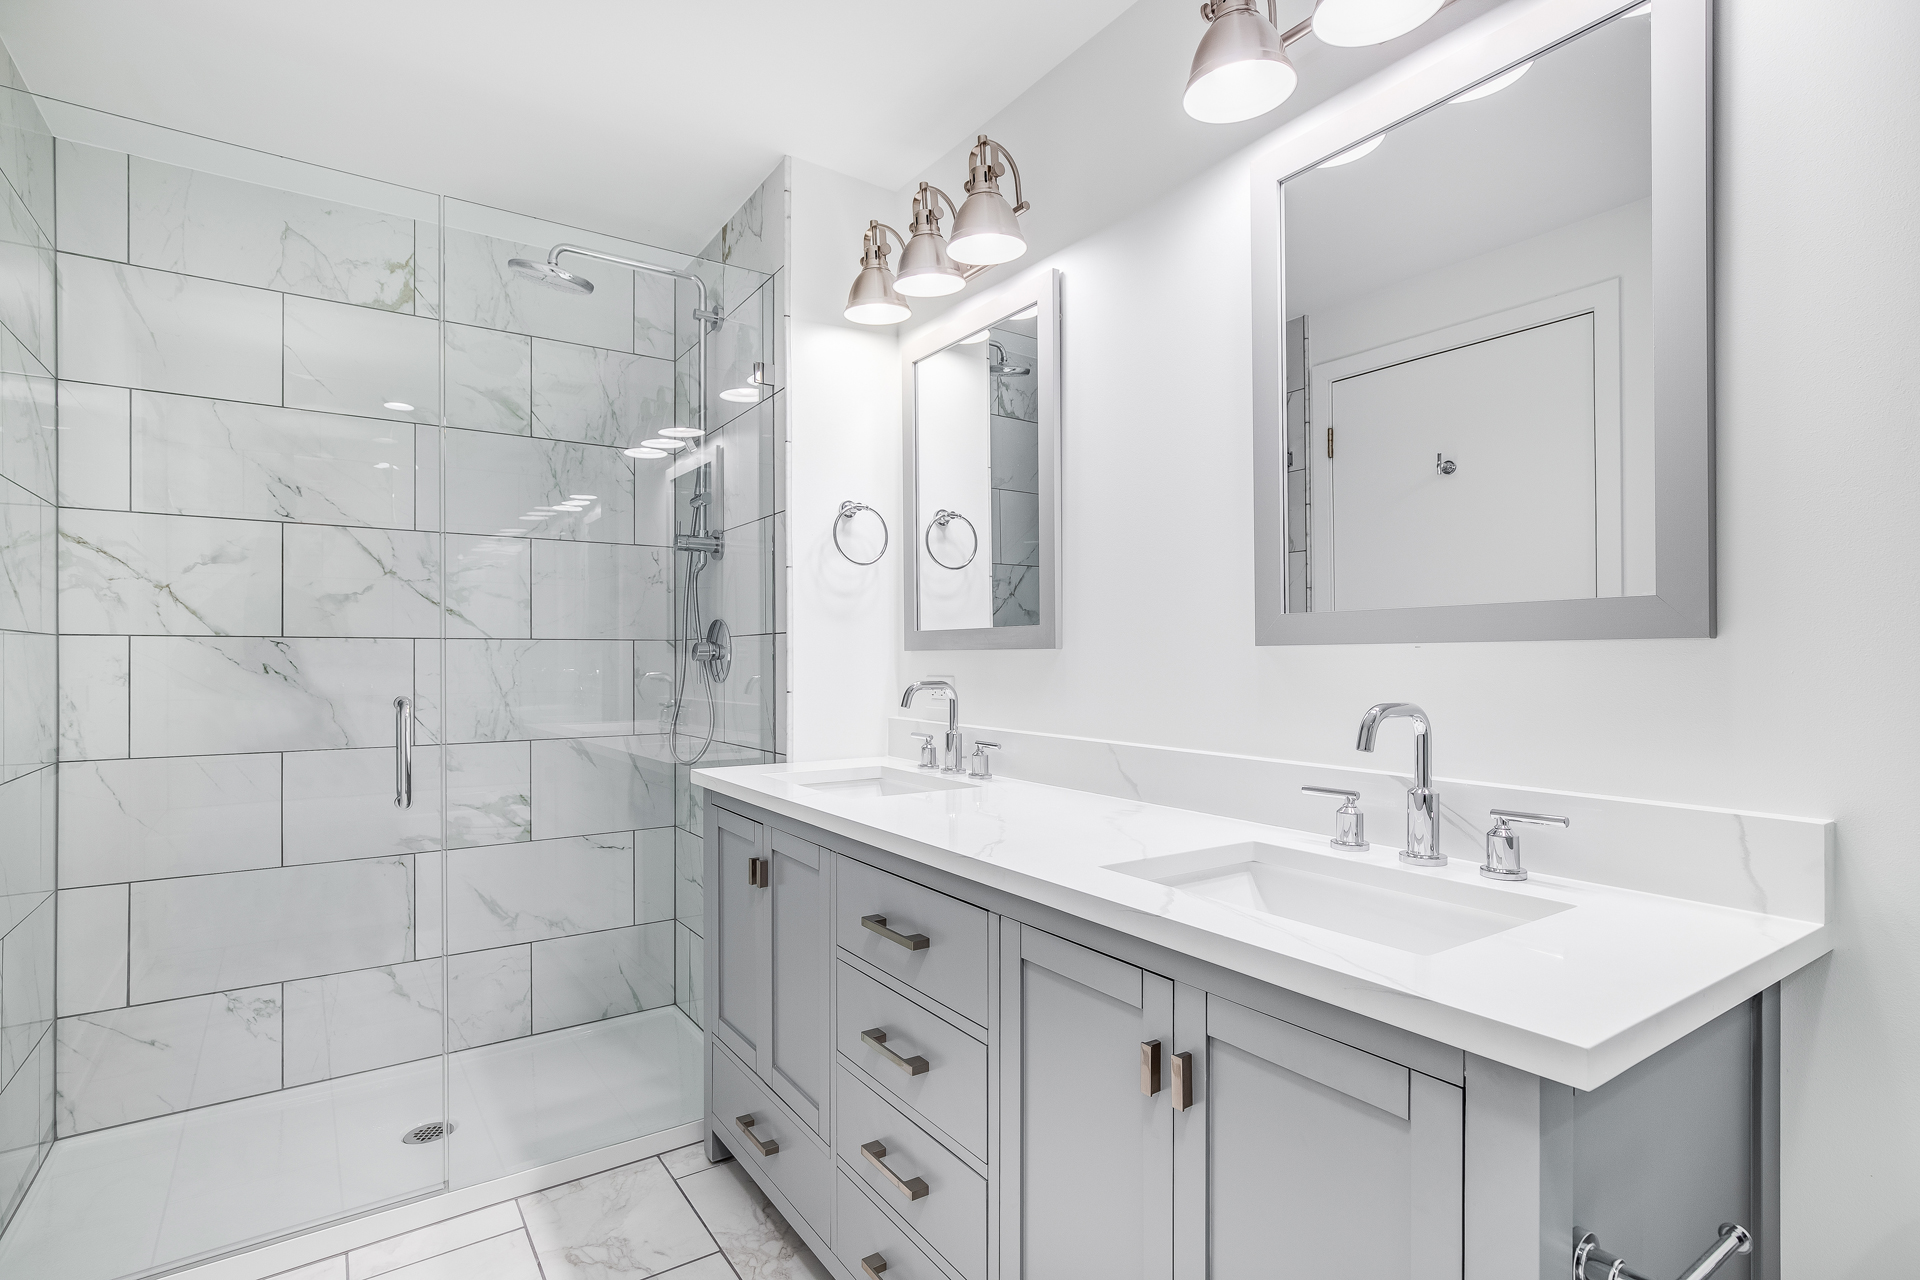
Large-format tile can create a clean, contemporary appearance in a small bathroom, but the success of the design depends on more than choosing a larger tile. The layout must work around walls, vanities, toilets, doorways, and other fixed features while avoiding awkward cuts and maintaining a practical installation. For homeowners in Bradenton, Florida, planning these details before a bathroom renovation can help create a space that feels cohesive without sacrificing functionality.
Large tiles can reduce the number of visible grout joints and establish a more continuous surface. However, they also require suitable floor preparation and careful planning because fewer, larger pieces may be harder to position around tight spaces. The right tile size and layout should reflect the bathroom's dimensions, the shape of the room, and the installation requirements of the selected product.
Measure the Bathroom Before Choosing Tile
Begin by measuring the full floor area, including recesses, doorways, and any irregular sections. Record the location of the vanity, toilet, shower enclosure, tub, and other fixtures. These measurements help determine how the tile pattern will align with the room and where cuts will be needed.
Do not rely only on the room's overall length and width. A bathroom may have a narrow section beside the vanity, a recess near the shower, or a doorway that changes the way the layout should be centered. These smaller details can have a significant effect on the finished appearance.
Ask the installer to create a proposed layout before work begins. This plan should show the tile arrangement and likely cut locations around the walls and fixtures. Reviewing the plan early makes it easier to adjust the starting point or tile direction before installation is underway.
It is also useful to consider the view from the doorway. The floor is often seen first from this position, so the layout should look balanced from the entrance as well as around the fixtures.
Decide Whether Larger Tile Is Right for the Space
Large-format tile can make a small bathroom feel visually less fragmented because it creates fewer grout joints across the floor. A restrained color and simple pattern may help the room appear more continuous, particularly when the tile coordinates with the wall finishes.
However, larger tiles do not automatically make every small bathroom look bigger. If the tile creates narrow cuts around the perimeter or clashes with the room's proportions, the result may feel awkward. The actual dimensions of the tile and bathroom must be considered together.
Large tiles also require careful handling and a suitable substrate. Their size can make them less forgiving of uneven surfaces, and the installation system must meet the manufacturer's flatness requirements. A tile that looks attractive in a showroom may not be the best choice if the bathroom's existing floor cannot be prepared appropriately.
Compare different tile sizes with the proposed layout in mind. A medium-sized tile may produce a more balanced arrangement in some bathrooms, while a larger format may work beautifully in others.
Plan Cuts Around the Vanity and Toilet
Fixtures influence where tile cuts will be visible. Around a vanity, the installer may need to work with the cabinet's footprint, exposed sides, and toe kick. The layout should account for these features so that narrow strips or uneven-looking cuts do not become distracting details.
The toilet area also needs careful planning. Tile must be cut to accommodate the fixture and its plumbing connection while maintaining the installation requirements of the flooring system. The final arrangement should look tidy and allow the toilet to be installed correctly.
Consider whether the vanity will remain in place or be replaced as part of the renovation. If the room is being remodeled, coordinating the sequence of cabinet removal, floor preparation, tile installation, and fixture installation can help avoid unnecessary complications.
Do not assume that the tile should always begin at the center of the room. Centering can be effective, but another starting point may produce better cuts around the most visible fixtures. The installer should evaluate the complete layout before selecting the starting position.
Choose a Tile Direction That Suits the Room
Rectangular tiles can be installed in different directions, and each arrangement changes how the room is perceived. Running the longer dimension along the bathroom's length may emphasize that direction, while another orientation may align more naturally with the vanity or doorway.
Tile direction should be considered alongside the locations of grout joints and perimeter cuts. A pattern that looks balanced in the center of the room may create awkward slivers near the walls or around fixtures. Planning the entire floor helps maintain consistency across the layout.
Some layouts use a straight grid, while others use an offset arrangement. The appropriate pattern depends on the tile's dimensions, edge characteristics, and manufacturer recommendations. Certain large-format tiles have restrictions on offset patterns because of the way slight curvature or variation may affect adjacent edges.
Before installation, ask the flooring professional to explain the advantages and limitations of the proposed direction. A small adjustment can sometimes improve the balance of the finished floor significantly.
Pay Attention to Grout Joint Width
Large-format tile is often selected to reduce the visual prominence of grout joints, but the joints still perform an important role. Their width must suit the tile's dimensions, edge finish, and installation requirements.
Do not assume that every large tile can be installed with an extremely narrow joint. Tile dimensions may vary slightly, and the appropriate joint width depends on the product and installation system. The manufacturer should provide guidance on the required spacing.
Grout color also influences the overall effect. A grout shade close to the tile color can make the floor appear more continuous, while a contrasting color emphasizes the grid. In a small bathroom, either approach may work depending on the tile pattern and the rest of the room's design.
Compare grout samples with the tile before making a final choice. Lighting, surface texture, and the size of the finished installation can change how the combination appears across the room.
Consider Slip Resistance and Surface Texture
Bathrooms regularly encounter splashes and wet feet, so the tile's surface characteristics deserve particular attention. Color and pattern may determine the visual style, but the product must also be appropriate for the intended floor application.
Review the manufacturer's information about the tile's intended use and slip-related performance. Different surface finishes can behave differently under wet conditions, and the suitability of a product depends on where and how it will be used.
A highly polished surface may create a sleek appearance, but it should not be selected without considering the bathroom's conditions. Textured finishes can offer a different feel underfoot, although some may require more attention during cleaning.
For shower floors or other areas exposed to frequent direct water, additional requirements may apply to tile size, slope, drainage, and installation. A tile suitable for the main bathroom floor is not automatically suitable for every wet-area application.
Prepare the Subfloor for Large-Format Tile
Large-format tile requires a stable, properly prepared substrate. Unevenness can make it difficult to achieve consistent support beneath the tile and can contribute to lippage, where neighboring tile edges sit at different heights. Proper preparation helps the finished floor look more uniform.
The installer should assess the existing floor for flatness, stability, moisture concerns, and damage. The required preparation depends on the substrate. Concrete and wood subfloors have different considerations, and each must meet the tile system's requirements.
If the existing floor has cracks, movement, or signs of water damage, determine the cause before installing new tile. Some conditions may require repairs or an approved underlayment system. Covering an unresolved issue can compromise the new installation.
The mortar and other installation materials must be appropriate for the tile format and substrate. Follow the manufacturer's requirements for coverage, curing, and movement accommodation rather than relying on a generic installation method.
Coordinate Tile With the Vanity and Wall Finishes
In a small bathroom, the floor is closely connected visually to the vanity, wall color, countertop, mirror, and fixtures. A coordinated palette can make the room feel deliberate without requiring every surface to match exactly.
Light-colored tile can contribute to a bright appearance, especially when paired with suitable lighting and reflective surfaces. However, darker tile can also work in a small bathroom when balanced with lighter walls, appropriate lighting, and well-proportioned fixtures.
Consider the undertones of the tile and vanity finish. A warm wood vanity may coordinate naturally with beige or warm gray tile, while a cooler cabinet color may suit a different palette. The best combination depends on the materials already present and the look you want to achieve.
If the walls or shower area will use a separate tile, compare the samples together. They can share a color family while differing in size, texture, or pattern. This creates variation without making the room feel visually disconnected.
Plan Transitions and Door Clearance
Installing tile changes the finished floor height depending on the thickness of the tile and setting materials. In a small bathroom, this can affect door clearance, thresholds, and transitions to adjoining rooms.
Measure the existing doorway and consider the thickness of the proposed flooring system before installation. If the bathroom connects to carpet, hardwood, or another material, the transition should be planned so that the finished surfaces meet cleanly.
Door clearance should not be left until the final stage. A door that drags against the new floor may need adjustment, and the appropriate solution depends on the door construction and amount of clearance available.
These details are especially important when the bathroom is part of a larger renovation. Coordinating the floor height with adjoining spaces helps create a finished result that feels intentional rather than patched together.
Keep Large-Format Tile Looking Its Best
Routine maintenance begins with removing loose dirt and debris before cleaning. Use products approved for the tile and grout, and avoid abrasive tools or chemicals that may damage the surface or affect the grout.
Wipe up spills and standing water, particularly around the vanity and shower entrance. Even when the tile itself has low water absorption, the grout, edges, and surrounding construction may have different moisture characteristics.
Inspect grout joints and transitions periodically. Cracked grout, loose tiles, or recurring moisture problems should be assessed rather than covered with a quick cosmetic repair. Identifying the cause helps prevent the same issue from returning.
Follow the manufacturer's care instructions for any sealing or specialized maintenance that may be required. Different tile and grout products have different needs, so a cleaning method that works for one surface may not be appropriate for another.
Explore Tile Flooring With Georgia Carpet and Floors
Large-format tile can create a clean, coordinated look in a small bathroom when the layout, cuts, grout, surface characteristics, and subfloor preparation are carefully planned. By evaluating the room's dimensions and fixtures before choosing a product, you can avoid common layout problems and create a floor that suits both the space and your everyday routine.
Georgia Carpet and Floors helps homeowners in Bradenton, FL, explore tile flooring for bathroom renovations and other home projects. Browse the tile flooring collection to compare styles and formats, or contact Georgia Carpet and Floors to discuss your project and plan a tile layout that works for your bathroom.


